
Wednesday, January 29, 2014
Monster Tails - Results
Ok, so this project isn't my brainchild but I did decide to show my results. I made these for Oliver's birthday party/Dinosaur Train concert. Rather than redo what the author did so well I'll just post her how to link. Running With Scissors.
Saturday, January 25, 2014
Monster Bean Bag Toss
Gearing up for the big party. I just finished the monster bean bag toss.

Step #1: Supplies - Trifold poster board, exacto knife, black marker (fat tip is preferred), pencil and paint.
Step #2: Draw out your design in pencil then outline it in marker. Make sure whatever holes you use are large enough for a bean bag to fit through with a little room.

Step #3: Paint your monsters. I used acrylic paint but tempera would work as well. You can do a flat paint job or add accent shading - either way will look nice, I went with shading because I am comfortable with it.

Step #4: When the paint is dry outline the monster in black marker to make it pop.


Step #5: Carefully cut out mouth holes with an exacto knife.

Step #6: Add triangle support to the back of the board so it doesn't fall over when hit with a bean bag.
Step #7: Enjoy!
Step #1: Supplies - Trifold poster board, exacto knife, black marker (fat tip is preferred), pencil and paint.
Step #2: Draw out your design in pencil then outline it in marker. Make sure whatever holes you use are large enough for a bean bag to fit through with a little room.
Step #3: Paint your monsters. I used acrylic paint but tempera would work as well. You can do a flat paint job or add accent shading - either way will look nice, I went with shading because I am comfortable with it.
Step #4: When the paint is dry outline the monster in black marker to make it pop.
Step #5: Carefully cut out mouth holes with an exacto knife.
Step #6: Add triangle support to the back of the board so it doesn't fall over when hit with a bean bag.
Step #7: Enjoy!
Sunday, January 19, 2014
No home is complete without a kiddy table...

Over the past few weeks we have noticed the lack of an important piece of furniture in our home, the all important kiddy table. Having served an 18 month mission for our church in Korea I fell in love with their mini fold up tables that somehow allowed everyone to gather around. They folded up very neatly and stored really well and allowed for additions. Upon discussing the options for a kids table in our home I told Brian I didn't want to have to worry about chairs, because let's be honest, they are extra pieces of furniture that you constantly have to teach your kids to sit in. So we decided to go with the Korean version of a table. I'll be making floor pads for them to sit on as well. We discussed just picking one up at Lotte Mart the next time we were in Baltimore but why not take this opportunity to learn a new skill. I will say that based on my abilities I opted for non-folding short legs.
Here goes...
Supplies -
-Wood board - for table top
-4 Wood legs with screw already in place
-4 Straight Top Plates (see picture below)
-Stain color of your choosing - You could probably use an acrylic wash if you want to add color but I used an actual wood stain
-Polyurethane
-Rags
-Brushes
-Drop cloth
Step #1: Purchase your choice of table top. Either Lowes or Home Depot have prefabricated boards that have been sanded and cut to size. You will have several options but we went with 3/4"x 24"x 48". This is bigger than the standard kid dinner table but I wanted them to have extra room for art projects. Or if they were having friends over they could all huddle up. Purchase additional supplies if needed. Note: the wooden legs are typically in the same section at the wood trim and you will usually have half a dozen options for style.

Step #2: Using a rag, I made some out of towels we never use, apply the stain to the wood surfaces (table top and legs). If you want more of a wash look where you see the wood grain don't use very much stain. If you want an more opaque look you may have to do several coats. The key to doing anything with wood and having it look nice, ALWAYS GO WITH THE GRAIN! Always.


Step #3: For ours I chose to add a pattern cut out from my silhouette machine and an extra layer of stain. Not really because I wanted to but rather because my dear sweet husband trying to help, screwed the straight top plates on the wrong side. Unfortunately the underside was a little sloppy on the edges and this was my fix. Lemonade anyone?


Step #4: Allow for the stain to dry, then apply polyurethane to the surface of the wood with a paint brush. Make sure you don't over brush or apply too heavily. Allow to dry and repeat 2 more times. I went with a semi-gloss for our surface finish because it will be used for food but I don't love the super shiny look.

Step #5: When all coats of polyurethane have set apply straight top plates to the under surface of the table top. Decide how far in you want the legs to be. For us we opted for 2 inches on both sides of the corner.

Step #6: Mark the screw holes with a marker or screw.

Step #7: Drill holes prior to screwing in the straight top plates. Brian cut pieces of card board and put them on the drill bit to keep him from screwing to far and going through the other side.

Step #8: Screw in plates.

Step #9: Attach legs by screwing them into the center hole in the plate.

Step #10: Set upright and enjoy.

Step #11: Place flat cushions.


Sunday, January 12, 2014
Flag Streamers For a Poster Board
Lucky me, I got as close to my dream calling as possible. I was recently called to be the Relief Society Secretary in my new ward. Apparently I have either completely failed at being a secretary for the last 10 years or I'm just so stellar at it they keep calling me back for more. Anyway back to my dream calling, ward bulletin board specialist. Guess what the secretary does? If you guessed a bunch of other things and the opportunity to do the bulletin boards you would be right! So here it is, some of the steps in the process. I will warn that all letters cut out were done with my silhouette machine (like a cricket but much cooler because it gives you a lot more creative uses). So if you start to think I am more amazing than I really am, rest assured I have mechanical assistance.
This method is specifically for bulletin boards or locations where you want the streamer to be consistently secure without the having a million tacks or staples showing. We used this same method when we made banners for Oliver's circus room. Those banners I made from felt and ribbon but the same principles apply.

Step #1: After deciding what you want your flag streamer to say and how big you want it to be, cut out the letters and stick them on a rectangle piece of card stock. I will warn that the better quality paper the longer the banner will hold up. Also anything with a pattern or texture does not allow vinyl to adhere as well.

Step #2: Cut the bottom of the flag in an upside down "V" shape. Because of the letters and over all feel I am going for the "V" shape did not have to be precise. In fact I tried to make it noticeably wonky.

Step #3: Push push-pins into the top corners of the flags.

Step #4: Using a hot glue gun run a thin line of glue across the top of the flag. Be sure to cover the push-pins.

Step #5: Place ribbon over the glue line but don't allow the top of the flags to stick out above the ribbon. With each letter you attach use the same distance for spacing the flags. *** Make sure to leave a tail on the front and back of the string of streamers.

Step #6: Make sure all push-pins are straight and that no paper is showing above the string of ribbon.

Step #7: Lay out streamer to ensure it has the desired look. If it doesn't, well unfortunately you pretty much have to scrap it and start over.


I'll post the final pictures of the bulletin board when I complete the remaining parts.
Update: I'm not sure it's finished but here is at least a progress shot.

This method is specifically for bulletin boards or locations where you want the streamer to be consistently secure without the having a million tacks or staples showing. We used this same method when we made banners for Oliver's circus room. Those banners I made from felt and ribbon but the same principles apply.

Step #1: After deciding what you want your flag streamer to say and how big you want it to be, cut out the letters and stick them on a rectangle piece of card stock. I will warn that the better quality paper the longer the banner will hold up. Also anything with a pattern or texture does not allow vinyl to adhere as well.
Step #3: Push push-pins into the top corners of the flags.
Step #4: Using a hot glue gun run a thin line of glue across the top of the flag. Be sure to cover the push-pins.
Step #5: Place ribbon over the glue line but don't allow the top of the flags to stick out above the ribbon. With each letter you attach use the same distance for spacing the flags. *** Make sure to leave a tail on the front and back of the string of streamers.
Step #6: Make sure all push-pins are straight and that no paper is showing above the string of ribbon.
Step #7: Lay out streamer to ensure it has the desired look. If it doesn't, well unfortunately you pretty much have to scrap it and start over.
I'll post the final pictures of the bulletin board when I complete the remaining parts.
Update: I'm not sure it's finished but here is at least a progress shot.

Saturday, January 11, 2014
Monster Bean Bags
I'm gearing up for Oliver's second birthday party - Monster themed. One of the games we are going to play is a monster toss. For prizes we are planning to give a few of the bean bags away so I thought it would be fun to make simple monster bags. Here is the how to:
Step #1: Select the desired colors in basic felt. You can find this in any kids craft aisle.
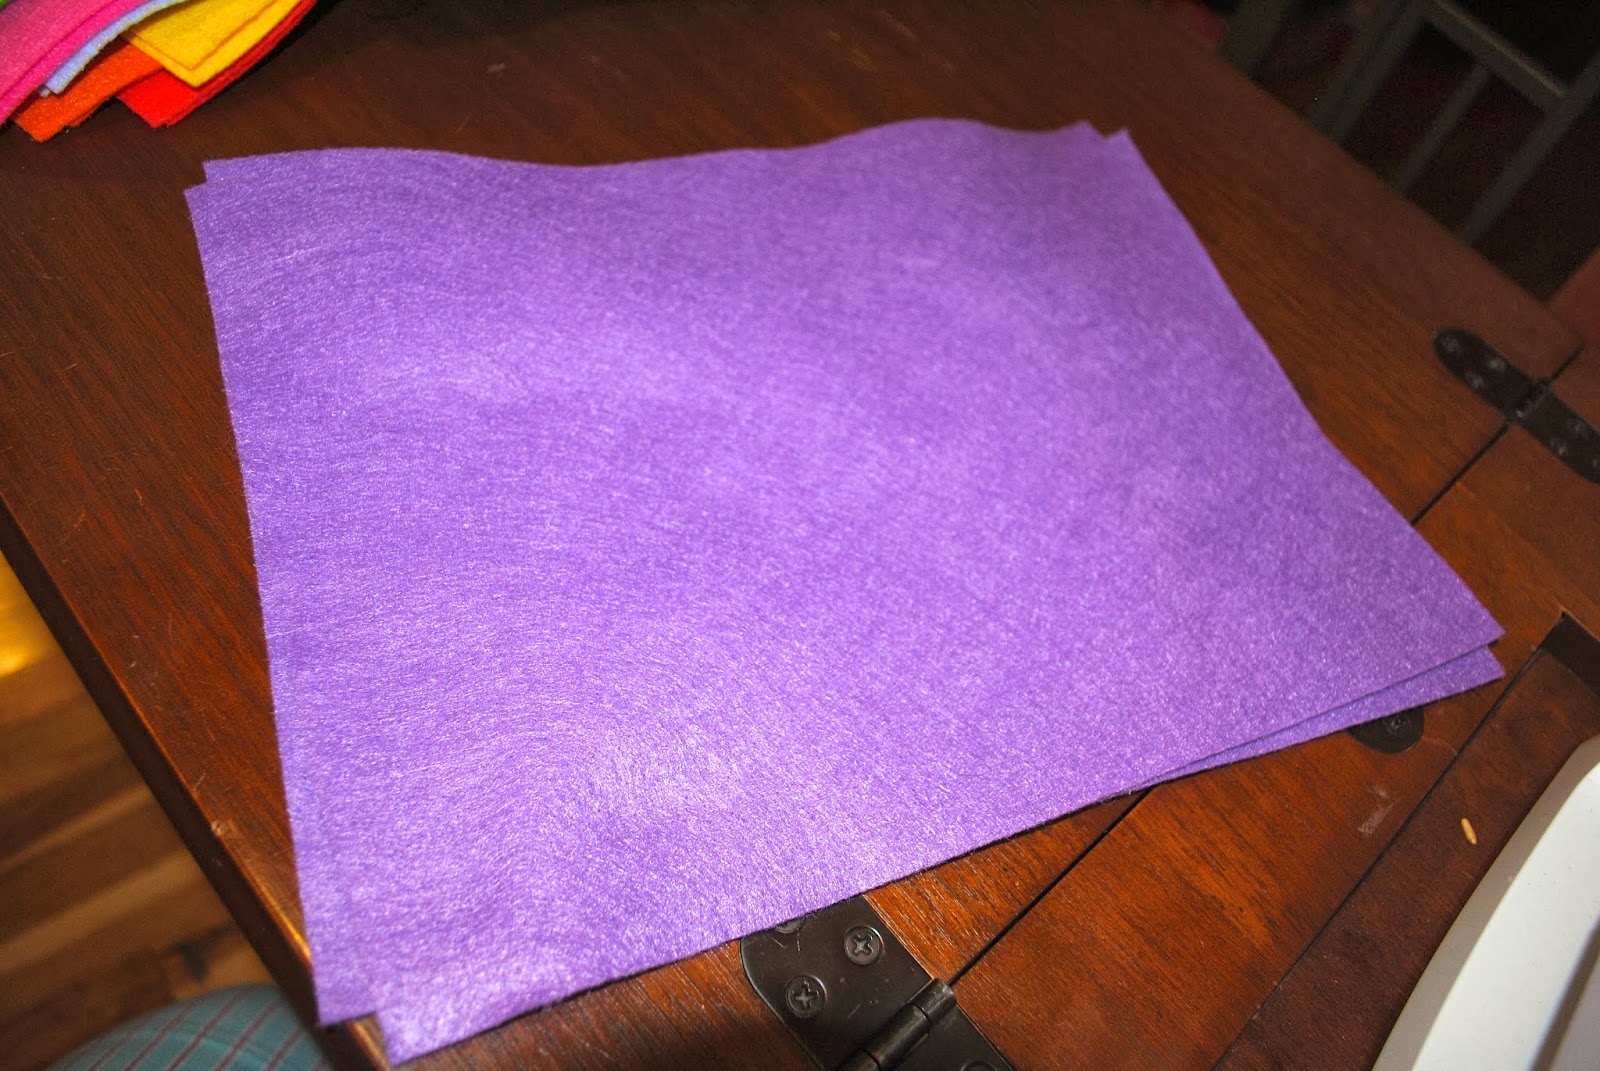
Step #2: You should be able to get 4 bags out of two sheets of felt. Glue various size googly eyes on felt in quarters.

Step #3: Sew around eyes (I used an embroidery stitch) in the desired shape. Make sure you leave an inch sized opening to insert the filling.


Step #4: Insert a funnel into the hole to add the filler. I used wheat berries but rice or small beans would work as well.


Step 5: Pin opening to hinder filling from falling out.

Step #6: Using the same stitch close the openings.

Step #7: Admire your work.

Step #8: Cut out monster blobs.

Step #9: Place in bowl and patiently wait for the fun to begin.


Step #1: Select the desired colors in basic felt. You can find this in any kids craft aisle.
Step #2: You should be able to get 4 bags out of two sheets of felt. Glue various size googly eyes on felt in quarters.
Step #3: Sew around eyes (I used an embroidery stitch) in the desired shape. Make sure you leave an inch sized opening to insert the filling.
Step #9: Place in bowl and patiently wait for the fun to begin.
Subscribe to:
Comments (Atom)